
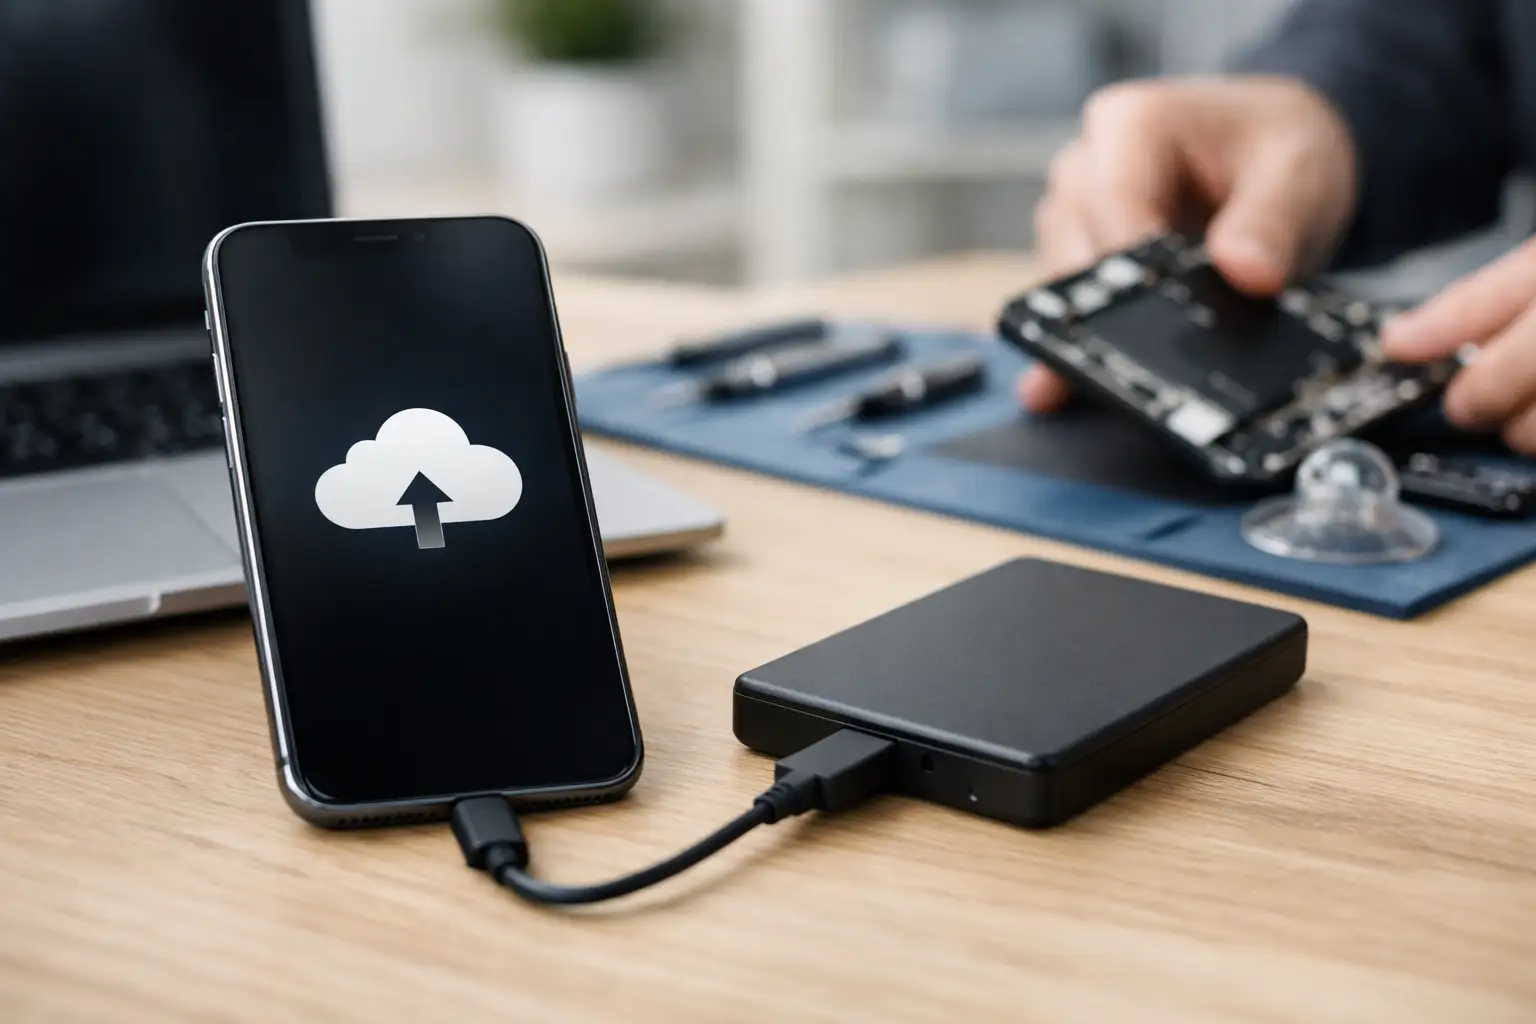
A cracked screen is stressful enough. The last thing you want is to hand over your phone for repair and then realise your photos, messages or notes were never backed up. If you are wondering how to back up iPhone before repair, the good news is that it usually only takes a few minutes, and it can save a lot of trouble later.
Whether your iPhone is coming in for a screen replacement, charging fault, battery issue or a deeper hardware problem, a proper backup gives you peace of mind. Repairs are often straightforward, but any work on a device carries some risk. In some cases, software resets are needed for testing. In others, a phone may already have underlying faults that only become clear once it is opened up. A backup protects your data if the unexpected happens.
Why backing up your iPhone before repair matters
Most repairs do not affect your personal data. A standard screen replacement, for example, is usually focused on the damaged part rather than the contents of the phone. That said, no responsible repairer should promise that data is never at risk. Devices that arrive with impact damage, liquid damage, power faults or storage issues can behave unpredictably.
Backing up your iPhone before repair means you are covered if the phone needs restoring, if the device fails during testing, or if an existing fault gets worse. It also makes moving to another phone much easier if the handset turns out to be beyond economical repair.
There is also the practical side. If your iPhone has to be left with the repairer for diagnostics, you will be much more relaxed knowing your important information is already saved elsewhere.
The two main ways to back up an iPhone before repair
If you want to know how to back up iPhone before repair properly, there are two reliable options: iCloud or a computer. The best choice depends on how much storage you have, how quickly the phone is working, and whether you have access to a laptop or desktop.
Option 1: Back up to iCloud
For most people, iCloud is the simplest route. Your iPhone can save a backup over Wi-Fi without needing cables, and you can do it from home before heading out for your appointment.
Open Settings, tap your name at the top, then tap iCloud. From there, tap iCloud Backup and check whether it is switched on. If it is off, turn it on. Then tap Back Up Now.
Keep the phone connected to Wi-Fi and ideally plugged into charge while it runs. If you have a lot of photos, app data or messages, it may take longer than expected. Do not assume it is complete until the screen shows the time of the latest successful backup.
The catch with iCloud is storage. Many people run out of free iCloud space without noticing. If your backup will not complete, this is often the reason. You may need to free up space or temporarily upgrade your iCloud storage. It is not ideal, but it is usually faster than risking no backup at all.
Option 2: Back up to a computer
A computer backup is often the better choice if your iPhone storage is full, your internet is slow, or you want a more complete local copy. You can back up using a Mac or a Windows PC.
On a Mac, connect your iPhone with a cable and open Finder. Select your iPhone from the sidebar. Under the General tab, choose the option to back up all of your iPhone data to this Mac, then click Back Up Now.
On a Windows PC, use the Apple Devices app or iTunes depending on your setup. Connect the iPhone, open the software, select your device and choose Back Up Now.
If you want saved passwords, health data and certain app information included, choose the encrypted backup option and set a password you will remember. Without encryption, the backup still helps, but it may not restore everything.
What to check before you hand the phone over
A backup is the big one, but there are a few other things worth sorting before repair. These steps help avoid delays and protect your account.
Make sure the backup actually finished
This sounds obvious, but many people start a backup and assume it worked. Check the latest backup date and time in iCloud settings, or confirm the backup completed on your computer. If the phone has been freezing, restarting or disconnecting, it is worth checking twice.
Turn off Find My iPhone if asked
Some repairs require Find My iPhone to be switched off, particularly if testing, replacement procedures or warranty processes depend on it. This is tied to Apple’s security system, so only disable it if your repairer asks you to.
Go to Settings, tap your name, tap Find My, then Find My iPhone, and switch it off. You will need your Apple ID password.
If you are not sure whether to do this in advance, ask first. For many repairs, it is not necessary until the device is booked in.
Know your Apple ID password
This causes more hold-ups than people expect. If your iPhone needs to be tested properly after repair, or if Find My must be disabled, you will need your Apple ID details. If you have forgotten them, recover access before your appointment where possible.
Remove your SIM if needed
For a quick local repair, many customers leave the SIM in place, especially if the phone is being tested for signal or charging issues. If you are more comfortable removing it, that is perfectly reasonable. The main thing is not to forget it if the phone is being swapped or reset.
If your iPhone is damaged and won’t back up
This is where things become less straightforward. If the screen is broken but the phone still responds to touch, you may still be able to complete an iCloud or computer backup. If the display is too damaged to use, a computer backup might still work if the phone has been trusted with that computer before.
If the phone will not power on, keeps restarting, or is not recognised by a computer, a standard backup may not be possible. At that point, the situation depends on the fault. Sometimes a repair can get the phone stable enough to recover data. Sometimes it cannot.
This is why it is always best to back up before the phone reaches that stage. A small crack or charging issue can become a much bigger problem if left too long.
How to back up iPhone before repair if time is tight
Not every repair is planned. If your phone has just failed and you need it sorted quickly, focus on the essentials.
If the phone still works, connect it to Wi-Fi and start an iCloud backup immediately. If your internet is slow or iCloud storage is full, use a computer instead. A local backup is often quicker than spending time deleting old files from the cloud.
If the phone battery is draining fast or the charging port is unreliable, keep it on charge while the backup runs and avoid using it. Every extra interruption increases the chance of failure.
Even a backup that is a few hours old is far better than none at all. Perfect is not the goal here. Protected is.
Common mistakes people make before repair
The biggest mistake is assuming a repair never affects data. Most of the time it does not, but that is not the same as a guarantee. Another common issue is relying on automatic backups without checking when the last one actually completed.
People also forget that photos may not all be stored the same way. If you use iCloud Photos, your images may already be syncing separately from your full device backup. That helps, but it does not replace a complete backup of settings, app data and messages.
The other avoidable problem is turning up without passcodes or account details. A fast repair is much easier when everything needed for testing is ready from the start.
A practical approach before any iPhone repair
The safest approach is simple. Back up the phone, confirm the backup worked, and make sure you know your Apple ID details before the repair appointment. If the device is badly damaged, do not keep forcing it to charge or restart it repeatedly. That can sometimes make matters worse.
At iHelp Gadget Repairs, customers often come in needing a quick fix because their phone is central to work, family life or day-to-day travel. That is exactly why preparing properly matters. A fast repair is helpful, but protecting what is on the device matters just as much.
If you only take one step before handing over your phone, make it this one: give yourself a current backup. Screens can be replaced and batteries can be changed, but lost photos, messages and notes are a different story. A few minutes of preparation now can spare you a much bigger headache later.