
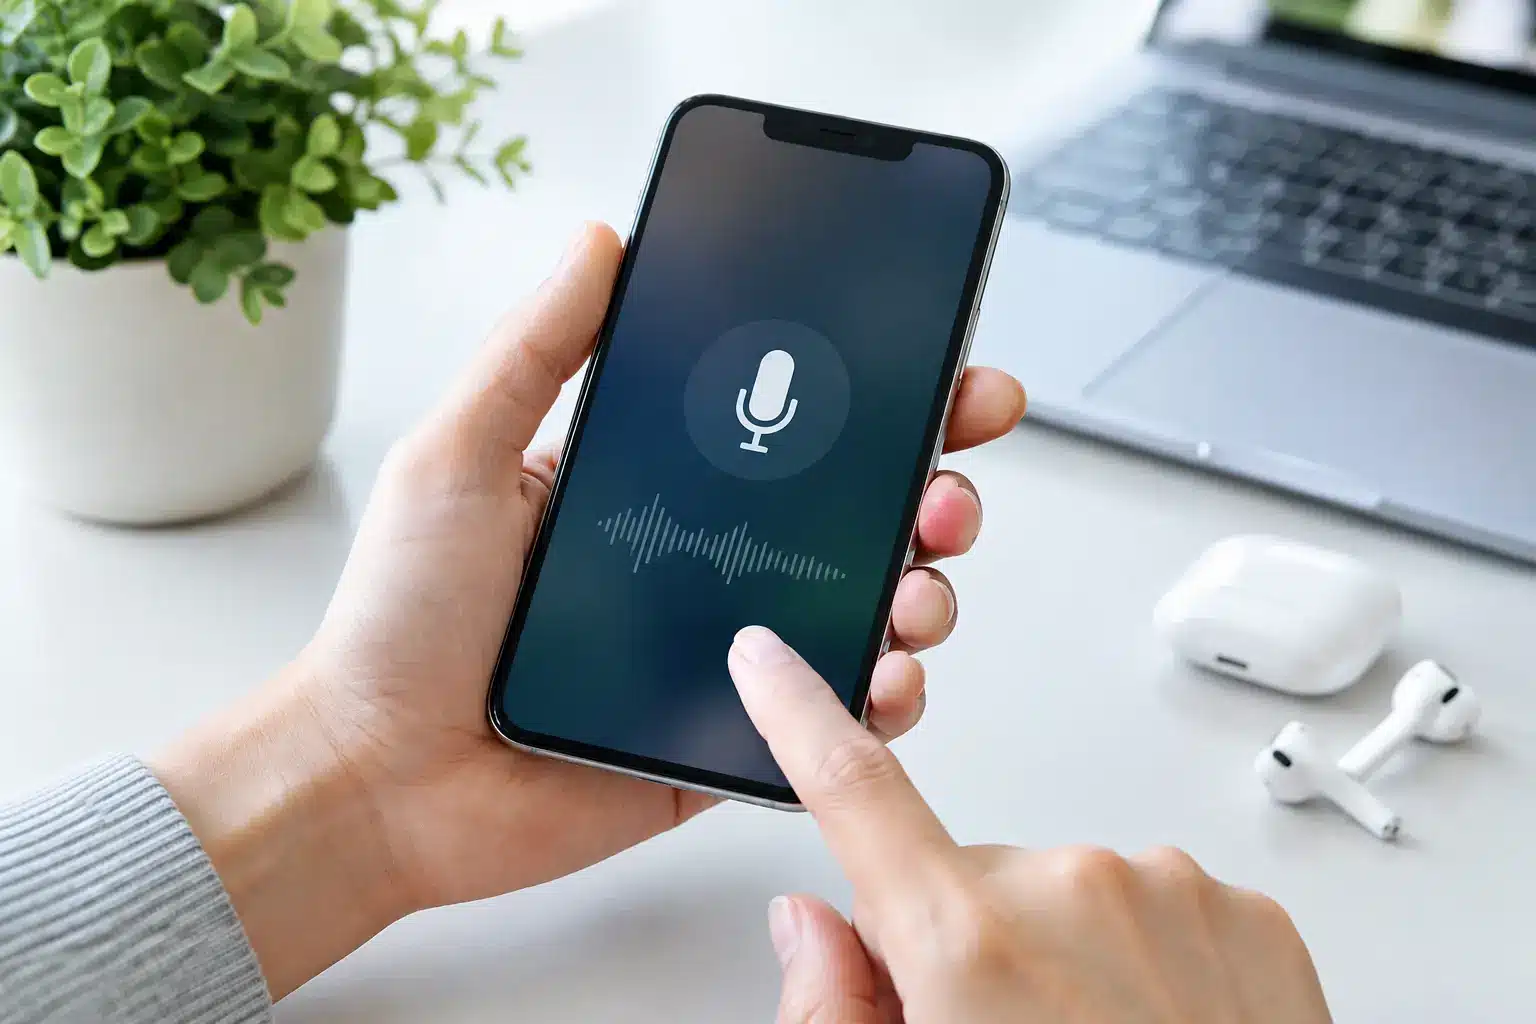
A microphone fault is more than an annoyance when you rely on your iPhone for work calls, school, family group chats or maps in the car. If people cannot hear you, recordings sound muffled, or Siri has stopped responding, knowing how to fix iPhone microphone problems starts with working out which microphone is affected – and avoiding a well-meaning clean that makes matters worse.
Modern iPhones use more than one microphone. One is used for normal calls, while others support video recording, speakerphone, noise reduction and Siri. That is why a phone may sound fine on a FaceTime call but produce poor video audio, or work on speakerphone but not when held to your ear. A few straightforward checks can narrow it down quickly.
First, confirm the iPhone microphone fault
Before changing settings or assuming the phone needs a repair, test the microphone in three different ways. Make a short recording in Voice Memos, record a video with the rear camera, then record one with the front camera. Play each recording back at a sensible volume.
If every recording is quiet, distorted or silent, the issue is likely affecting the main microphone or the phone’s software. If only one video sounds poor, a specific microphone opening may be blocked or damaged. If recordings are clear but callers cannot hear you, the problem could be limited to the Phone app, your network connection, Bluetooth device or call settings.
It is worth asking someone to call you too. Test both a normal call and speakerphone. This simple comparison often saves time because it identifies whether the fault happens only in one use case.
Check the simple causes first
Remove the case and inspect the openings
Cases, screen protectors and dust can interfere with microphone openings, particularly after a case has been replaced or the phone has spent time in a pocket, bag or work environment. Remove the case and test again. Check the small holes around the charging port, near the earpiece and beside the camera area, depending on your iPhone model.
Use a clean, dry, soft-bristled brush to gently loosen visible fluff. A dry soft brush is safer than pushing pins, paperclips or toothpicks into the openings. Those tools can damage the fine mesh, force debris further inside or affect nearby components. Avoid compressed air, cleaning fluid and water as well. They can move moisture or dirt where it should not go.
If the phone has been exposed to rain, a spilled drink, steam or high humidity, do not charge it immediately and do not try to dry it with heat. Let it air dry in a well-ventilated place. Heat can harm the battery and internal seals, while rice is not a reliable solution for liquid damage.
Disconnect Bluetooth accessories
Your iPhone may be using the microphone in AirPods, a car system, headphones or another Bluetooth device without it being obvious. Turn Bluetooth off temporarily in Settings, rather than only disconnecting from Control Centre, then place a test call or make a new Voice Memo recording.
If the microphone works once Bluetooth is off, reconnect accessories one at a time. The fault may be with the headset, car unit or its connection rather than the iPhone itself.
Restart and update the phone
A restart clears many temporary app and audio glitches. Switch the iPhone off fully, wait a few seconds, then turn it back on. After restarting, check for an iOS update in Settings. Updates can resolve bugs affecting calls, audio processing and app compatibility.
Do not expect an update to repair physical damage, however. If the fault started immediately after a drop, liquid exposure or a poor-quality charging cable incident, the timing matters. Software steps may be worthwhile, but a hardware inspection is more likely to be needed.
How to fix iPhone microphone settings and app access
When the issue only happens in one app, check its microphone permission. Go to Settings, then Privacy & Security, then Microphone. Make sure the app you are trying to use is allowed to access the microphone. If it is already enabled, switch it off, restart the iPhone and switch it back on before testing again.
For call quality problems, look at the microphone mode during an active call. On supported iPhones and iOS versions, open Control Centre while on the call and choose the available Mic Mode. Voice Isolation can reduce surrounding noise, which is helpful on a windy seafront walk or in a busy café. Standard mode may sound more natural in a quiet room. Wide Spectrum captures more of the environment, so it is usually not the best choice for a private conversation.
Siri issues deserve their own check. Make sure Siri is enabled in Settings and test whether the phone responds when you speak close to it. If Siri hears you but Voice Memos does not, or vice versa, that points towards one microphone rather than a general software fault.
If the microphone problem began after changing many settings, Reset All Settings is a reasonable final software step. This does not erase photos, messages or apps, but it does reset saved Wi‑Fi networks, preferences and certain system settings. Back up the iPhone first, and use this option only after the easier checks have failed.
Why calls can sound muffled or intermittent
Muffled sound is commonly caused by compacted pocket fluff around the bottom microphone area. Intermittent sound can also come from a loose internal connection, damaged microphone flex cable or a fault on the charging port assembly. On some iPhone models, the microphone is integrated with other components, so the correct repair depends on the model and exactly which audio test fails.
Crackling, extremely quiet audio or a microphone that works only when the phone is held at a certain angle are stronger signs of physical damage. The same is true if the issue followed a drop, water exposure or a previous repair. Continuing to press around the phone, repeatedly plugging in chargers or scraping the openings can turn a minor fault into a more involved repair.
Poor network coverage can also make a perfectly healthy microphone seem faulty. If callers say your voice cuts in and out only in certain locations, try a Voice Memo recording. Clear local recordings combined with poor calls suggest a signal or network issue rather than a microphone failure.
When a professional repair is the sensible option
Book a diagnostic if the microphone remains silent after cleaning the openings safely, disabling Bluetooth, restarting and checking permissions. A professional can test each microphone properly, inspect for liquid or impact damage and identify whether the issue is the microphone itself, charging port assembly, earpiece component, flex cable or board-level circuitry.
This is particularly worthwhile if you need your phone for shifts, study, childcare or business. Sending a voice note that cannot be heard or missing key calls soon becomes more disruptive than arranging a repair. Be cautious of very cheap repairs that do not explain the part being fitted or provide a warranty. Audio faults can be model-specific, and the right diagnosis matters as much as the replacement part.
For Portsmouth and Southsea customers, iHelp Gadget Repairs offers direct, local diagnostics and repair advice from Dan, with clear pricing before work begins. Where a repair is appropriate, you can discuss the likely turnaround and warranty rather than being passed between a call centre and an unknown technician.
Protect the microphone after it is fixed
Once the microphone is working normally, a well-fitting case can reduce the risk of impact damage without covering the openings. Keep the charging port area free of compacted lint, especially if the phone spends a lot of time in a pocket or work bag. If you regularly take calls outdoors, use a reliable headset when practical and keep the iPhone away from rain and damp surfaces.
A microphone problem is often fixable without replacing the phone. Test it methodically, clean only what you can safely reach and take persistent faults seriously. A quick, accurate diagnosis is the best way to get back to clear calls and recordings without risking further damage.